With the Helpwise – EasyCalendar integration, you can track an event’s information directly in your shared inbox & attach meeting links directly into your emails! Connect your shared inbox with EasyCalendar and can fetch, create, and update event information.
How to connect EasyCalendar with Helpwise?
See event’s information in your shared inbox
Once you have connected your shared inbox Helpwise account with EasyCalendar, you can easily track the event’s information. Here are the steps:
- Login to your Helpwise account.
- Select the inbox whose emails you wish to see.
- Open an email from any of the tabs (i.e, inbox, draft, sent, etc.)
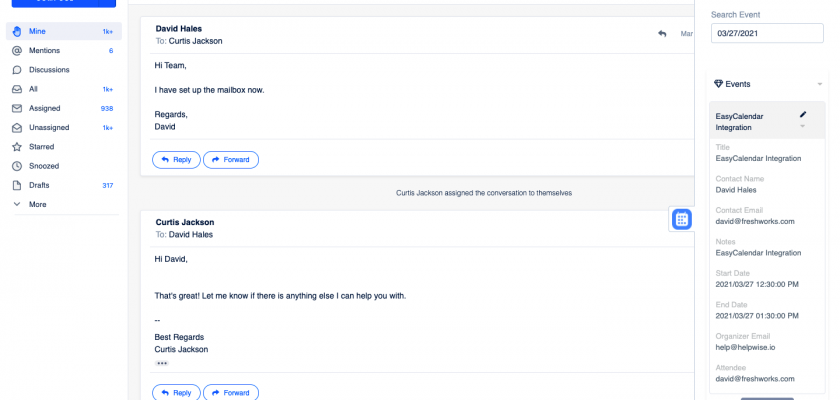
- Now, you will see the EasyCalendar logo on the right side of your screen. Click on that.
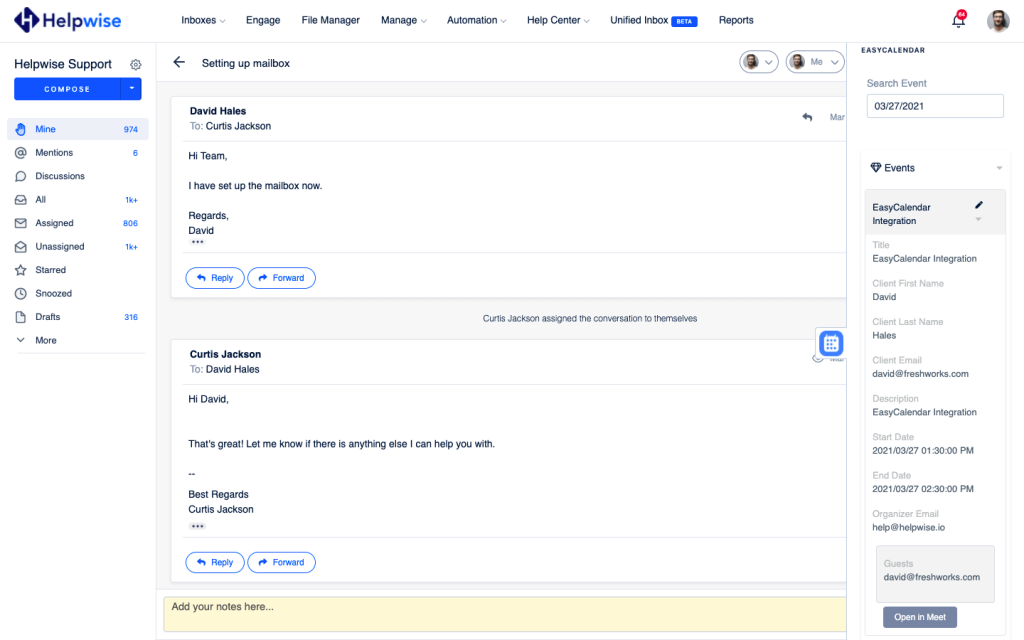
- It will open the EasyCalendar panel, which contains the date picker and the event information on that date. You can search for the event by changing the date.
Create a new event directly from Helpwise
You can also create a new event directly from Helpwise. To create an event follow the steps below :
- Click on the New Event button.
- Fill in the details in Event form.
- Now, click on “Create”.
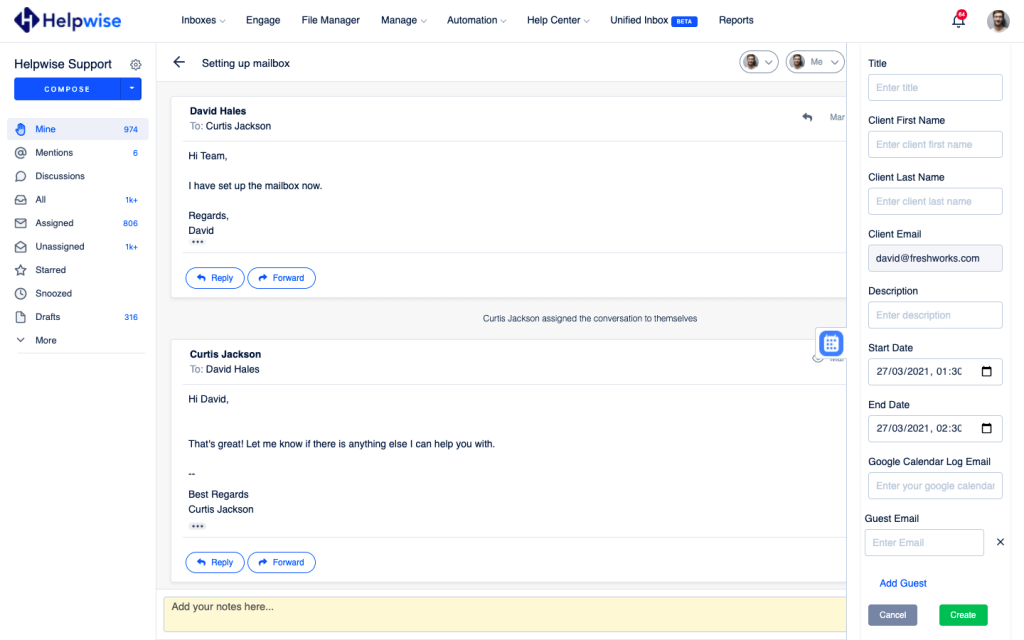
- This will create an event.
Attach calendar link and appointments in an email
You can attach a calendar link to the email so that the customer can also create a meeting according to their time.
- Click on ‘Compose’ or click on ‘Reply’ if the conversation exists.
- Click on the ‘EasyCalendar’ icon. You’ll see a list of all calendars connected to your EasyCalendar account.
- Click on any calendar whose link you want to share. After clicking, that link will be inserted in the editor.
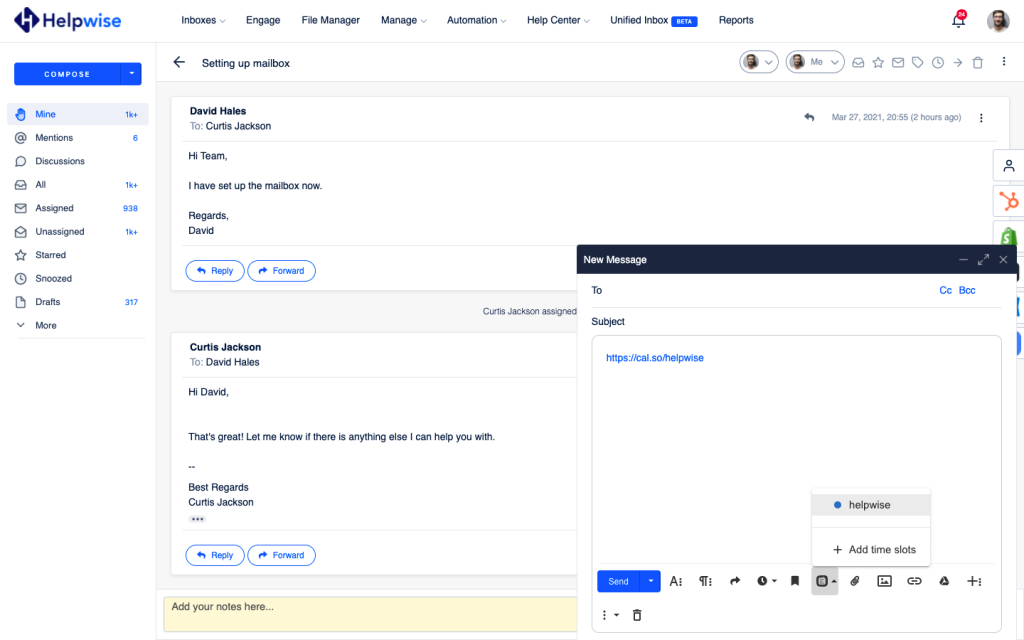
You can also attach the time slots in the email.
- Click on the EasyCalendar icon and you’ll see the ‘Add time slots’ option. Click on that.
- After clicking, a modal will open and you’ll see all the appointments. You’ve to click on the time slot you want to share.
- There is an option to select the time interval of a meeting. By default, it is 30 minutes.
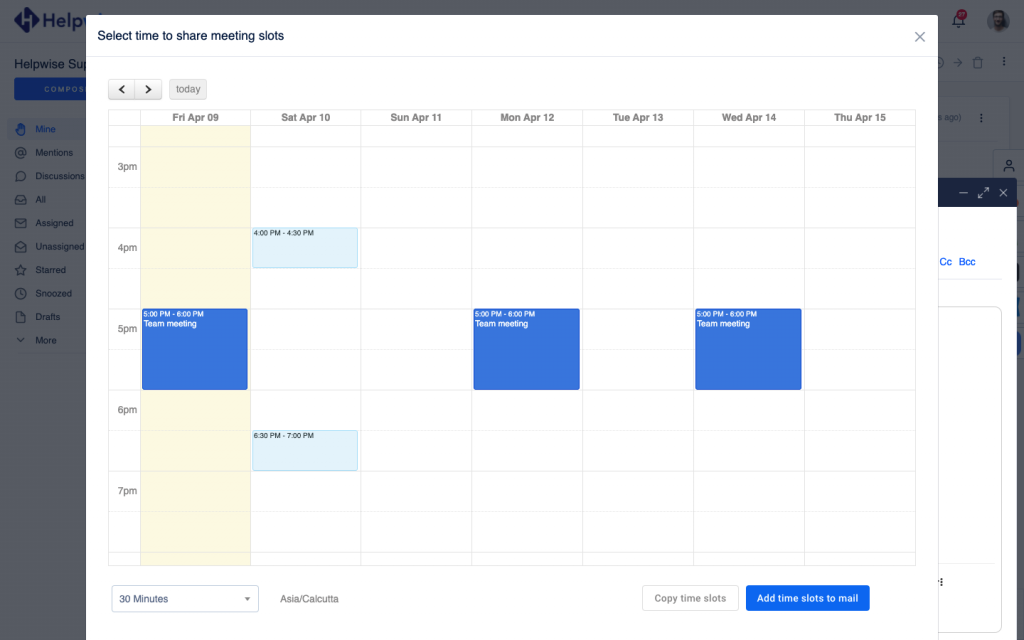
- Now click on ‘Add time slots to mail’ or you can click on ‘Copy time slots’ and then paste it into the editor.
- Now it’ll be inserted in the editor.

If you wish to know more, schedule a free demo with us.