This guide will tell you about the options you get while creating the chat engage campaign. There are two sections in the Chat engage campaign creation.
- Basic Section
- Audience Section
Along with these two sections, there are three more options, as follows:
- Title: Title is the text which will represent your engage campaign name or subject to easily identify it.

- Save Button: Save button saves the content of the engage campaign. In case of editing the engage campaign, this will update the changes you would have made.

- Set Live Button: “Set Live” button not only saves the content of the engage but also sets it live. This means that the visitors on your website will be able to see the message you are showing from this engage campaign.

Basic Section
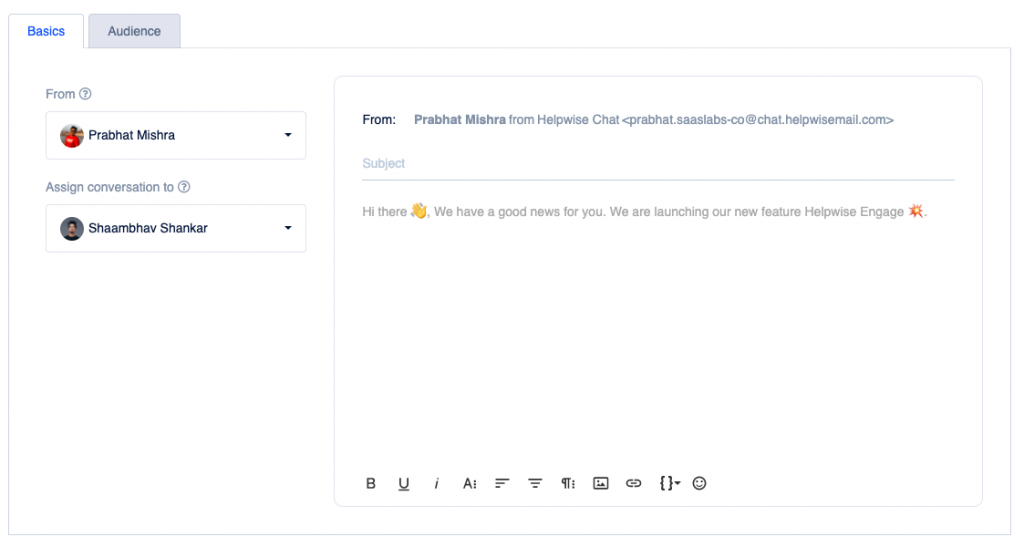
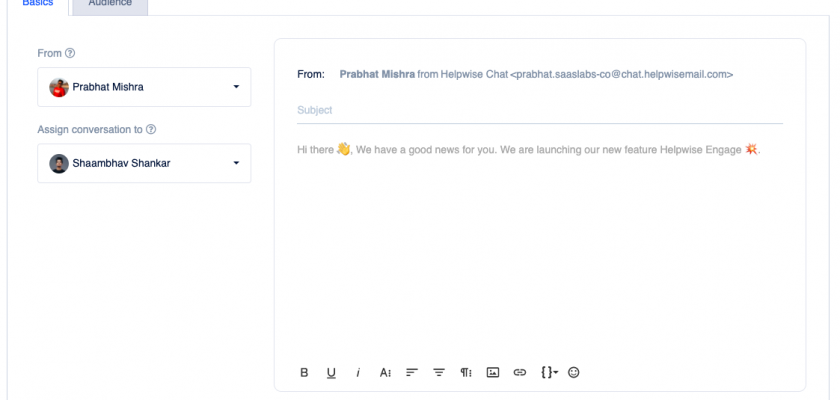
This section contains the basics part of the form i.e. details that are mandatory to set up the engage campaign. This section contains three fields, which are as follows:
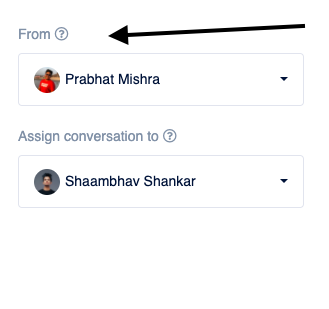
From
This field asks you to select the team member, on behalf of whom you want to send the email to your contacts. As shown in the image below, Helpwise will use “Prabhat Mishra” name and his email address to send the email to your contacts.
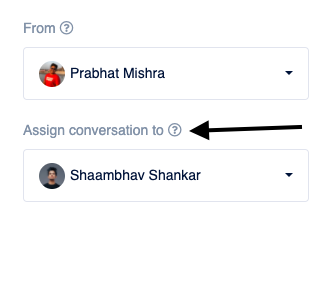
Assign conversation to
This field is one of the most important fields to setup engage. It allows you to directly assign the conversation to any of your teammates when anyone replies to the email. As in the case of the image shown below, Helpwise will assign the conversation to “Shaambhav Shankar”.
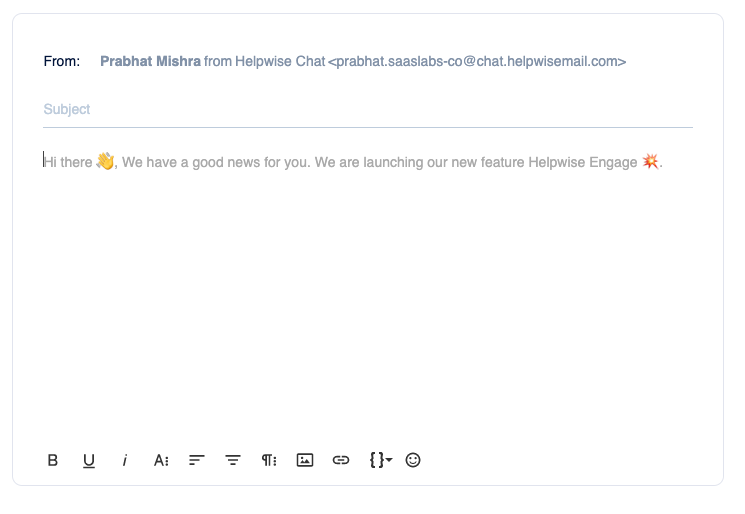
Content Area
This is the most important field of the engage because it contains the content of the engage. Here you can type in the Subject of your Email and then type the content of the Email that you want to send to your contacts. To make the content more interactive, you can add inline images, emoticons, links, etc. You can even insert the variables to automatically add the First name, Email, etc of the recipient to make the Email more personal.
Audience Section
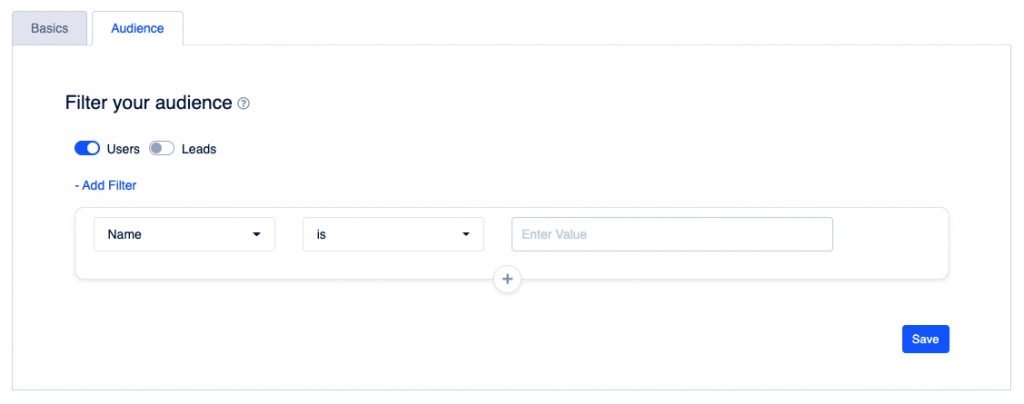
This section allows you to filter your audience. You can send emails to certain categories of the audience, by using this section. It allows you to filter the audience list based on name, email, join date, and other parameters of the user.
The first option you get in this is to select the type of person, you want to send the engage. There can be two types of person:
- Users: Person who are the users of your product and for whom you have provided their user id in the parameters of the chat widget.
- Leads: Leads are those persons whose user id is not passed in the parameters of the chat widget.
You can turn on both Users and Leads if you want to cover the whole audience of your product. Then comes the option to add a filter on the basis of the data of the person.
Filter on the basis of the person’s information
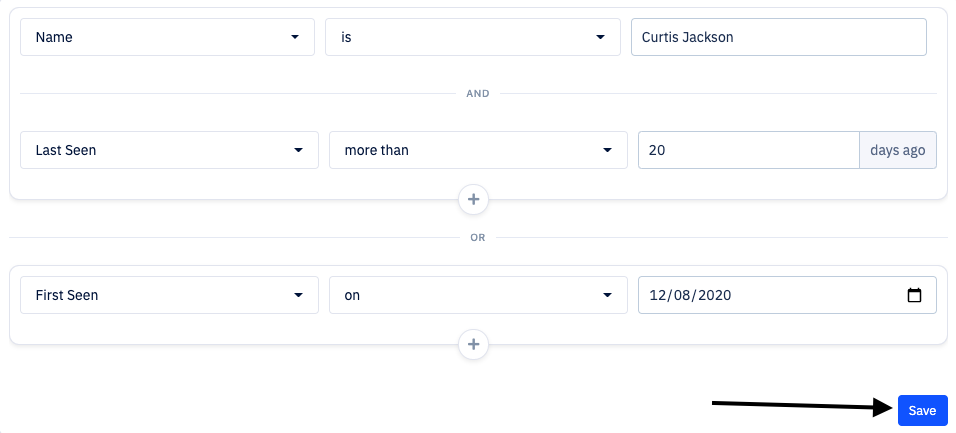
To create the filter on the basis of the person’s information. Please follow these steps:
- Select the property or the information of the person on the basis of which you have to apply the filter.
- Use the sub-filter to decide the operator that should be used on the information filter.
- Provide the value in the input field to complete the filter.

You can even add multiple information filters in an Engage, Click on the “+” icon situated at the bottom-center of the row as shown in the below picture.
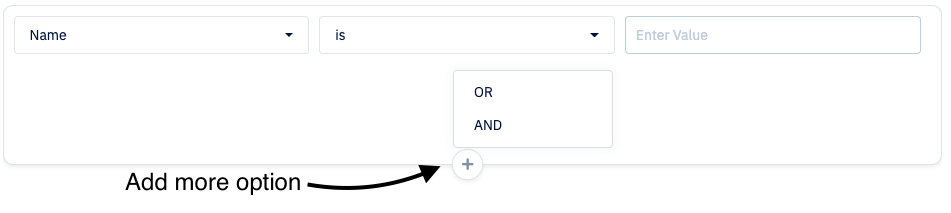
It allows you to add ‘AND’ and ‘OR’ condition in the filter on the basis of the information. Once you are done with adding your filters, Click on the save button to save your filter.

For further questions feel free to reach out to our team using our chat support or schedule a free demo call with us.